 |
| FINALLY DONE! |
I actually finished this two days ago, but wanted to move some rocks around the posts and along the bottom part of the fence where the ground dips below the bottom of the gate before I took some pictures and updated this thing.
 |
| That is what 140 pounds of instant concrete looks like. |
 |
| That post is 9 inches wide. That hole was turning into a pit! |
This was a really challenging project. One thing after another kept going wrong. (story of my life right?) The holes were the biggest issue, with the arm sized boulders I kept running into and having to dig out. That took the simple act of digging a hole to a full out orchestration of sweat, pick ax, auger, shovel and pure determination to get the hole dug. After piddling here and there on one hole in particular for a handful of days, coming by and swinging the pick ax at it for a few minutes while going in to feed the goats or hang with the chickens, I finally got the hole deep enough to put the left post in. Only problem now was that the hole diameter was HUGE from all the "other digging" I had to do to get the rocks out. My simple and awesome way to tackle that problem? 2 bags of cement (140 pounds worth), instead of 1. The foot print of the cement with the dirt and rock that covers it equals one safe bet... this post will go no-where for many years to come. Don't hit it with your car, 'cause it will dent your car and laugh at it... Seriously.
 |
| The wrapping of the hinge around the post. |
Now that the post was set in cement, I attached the fence to it, and then added the left part of the gate. While the cement "set", the post "slid" about an inch further away from the other post than I intended, no big deal, just makes it so the two gates don't "kiss" each other as closely. I wanted them to be really close, but mother nature said other wise. Luckily though, I was able to mount the hardware in such a way, it shortens the gap a bit and it doesn't make it a problem. The hardware was another issue, the hinge, I had to use backwards with the long part of the hinge going on the post, instead of on the panel. Because the way I made the gate panel, it wouldn't allow me to mount the hinge on correctly, that's called learning! At first, I was sweating it a bit, then realized that with some cold forging, I could "wrap" the hing around the post and make the hinge even more bad ass and custom (see picture for reference). I really don't see these hinges falling off anytime soon. lol. And after it was all said and done, I think it just looks too cool and more functional than it would have been before hand.
 |
| Gate is a little buck toothed. Don't stare, she is self conscious! |
 |
| Adding a wall of rock as filler under the large gate panel. |
After I mounted all the hardware, and leveled out the ground under the gate so when it swings it doesn't hit any rocks or dirt, I landscaped a bit so the gate blends more into the natural surrounding. I used rocks that I dug up and some of the existing rocks that laid on the ground around it. The biggest challenge that was left was filling the gap between the bottom panel and the ground on the left hand side. Most people might ask... "Dave, why didn't you just level the ground so the gate would lay flat?" Seems like a logical and fair enough question. I had plans to do just that, and if you see the ground, I did quite a bit of leveling and razing the ground to help with this dilemma, but then I ran into a boulder, that is not small... I'm talking about half the size of me... right under the end of the six foot panel. so, yeah, that is where I made the ground start... right at the top of that boulder, because there just was no way, even with help, without an excavator, I would not have been able to get that boulder out. So, with that said, there was a six inch gap under the right side of the six foot panel. So, I took rocks and gravel and some dirt and made a little "speed bump" that you would drive over in case you ever take a truck through the gate, which I feel will be really seldom... but always good to have the width in case you ever need it.
 |
| I made a 10 foot wide gate! I am awesome! :P |
Overall, I rank this particular project in "cool value" right under the chicken coop. Again, other than the hardware (which I would have forged myself if I had a blacksmith station...lol) Everything was made from scratch, no plans, no purchasing of any other material... just one frugal, free, awesome, heavy duty gate. Each panel is only six pieces of wood... but has 45 plus screws holding them together... overkill, maybe, but I don't want it falling apart anytime soon. All I can say, is that I am really glad to have this project crossed off my list, a lot of sweat, a few blisters and even some blood went into this thing, and it is now a nice center piece of the yard and tie the barn yard all together! Now I can finally take an updated "before and after" of the barn yard, so be looking for that post soon! Till next time!
 |
| Come on in! |
 |
| Right panel locks into rock. Sturdy sturdy sturdy! |
 |
| Smile! |
 |
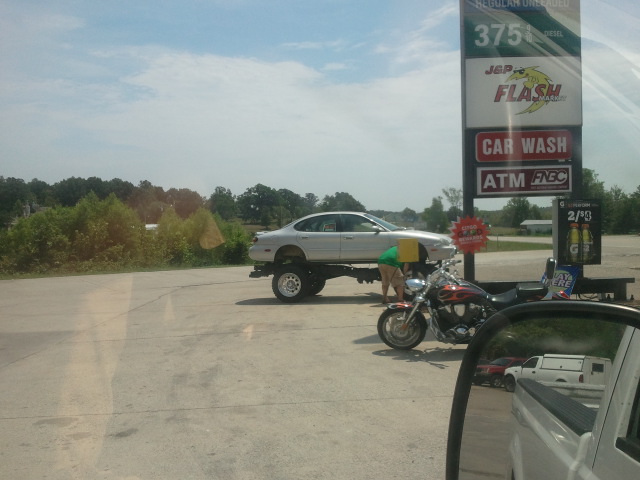
| Yep, that's right, Ford Escort (maybe) lifted with 33" tires... welcome to Arkansas! |
 |
| BTW:- New Gun works! 3 shots 35-40ft away. Look at that pellet grouping!! LOVE THIS THING! |
 |
| 5 shot rapid fire 35-40 ft away! (wind blew the sheet up on one shot, that's why the pellet holes are elongated) |
 |
| Smile some more! |


Ummm.....Dave? Where have you been? There's a lapse here.....
ReplyDeleteHello! I a back! Sorry for the delay, read the newest post to get updated! :)
Delete